MIT 6.1810: Operating System Engineering 是麻省理工学院大名鼎鼎的 PDOS 实验室开设的面向MIT本科生的操作系统课程。开设这门课的教授之一 —— Robert Morris 教授曾是一位顶尖黑客,世界上第一个蠕虫病毒 Morris 就是出自他之手。
这门课的前身是 MIT 著名的课程 6.828,MIT 的几位教授为了这门课曾专门开发了一个基于 x86 的教学用操作系统 JOS,被众多名校作为自己的操统课程实验。但随着 RISC-V 的横空出世,这几位教授又基于 RISC-V 开发了一个新的教学用操作系统 xv6,并开设了 MIT6.S081 这门课。由于 RISC-V 轻便易学的特点,学生不需要像此前 JOS 一样纠结于众多 x86 “特有的”为了兼容而遗留下来的复杂机制,而可以专注于操作系统层面的开发。
MIT 6.1810 是我一直想要学习的课程。本科的 OS 课是纯理论课,尽管学习和移植了 RTOS,但对 OS 的理解仍旧尚少,这也让我学习 Linux 内核很吃力,推免结束后趁时间空余就想着刷刷学习下吧,抱着学习和欣赏的态度认识一下传说中的 xv6 —— 精简优美的 UNIX 实现。
由于 Lab1 因为各种原因拖了很久才完成,完成后文档也拖了好几天才动笔,因此所以笔者文档尽量从简,有些细节步骤和探索懒得写了或者忘记了。
🌟笔者综合考虑最终选择了 2023 版本的 xv6-labs,Xv6 代码实现以及相关学习用到的 PDF 资料请参见:GitHub 传送门⭐。
实验环境搭建
安装 Ubuntu 20.04
参考 Tools Used in 6.1810,建议使用 Ubuntu-20.04,为了避免后续环境不一致带来的麻烦,我就乖乖装了一个新 WSL 配了一个全新的环境。(后续才知道 Ubuntu-22.04 体验更好,这是一个吃力不讨好的决定)
wsl --install -d Ubuntu-20.04
安装 QEMU
Building QEMU for Linux,除了 required package,还需要手动安装 flex 和 bison。
注意:QEMU 不要按照实验文档直接用 apt 就装了,这样装的 QEMU 版本太老,甚至达不到实验文档上的 5.1.0 版本。因此笔者这里选择了手动编译安装 QEMU,考虑到 20.04 版本避免兼容性问题,笔者选取了一个较新但不是最新的版本(没有选最新的 9.x 的 QEMU)。
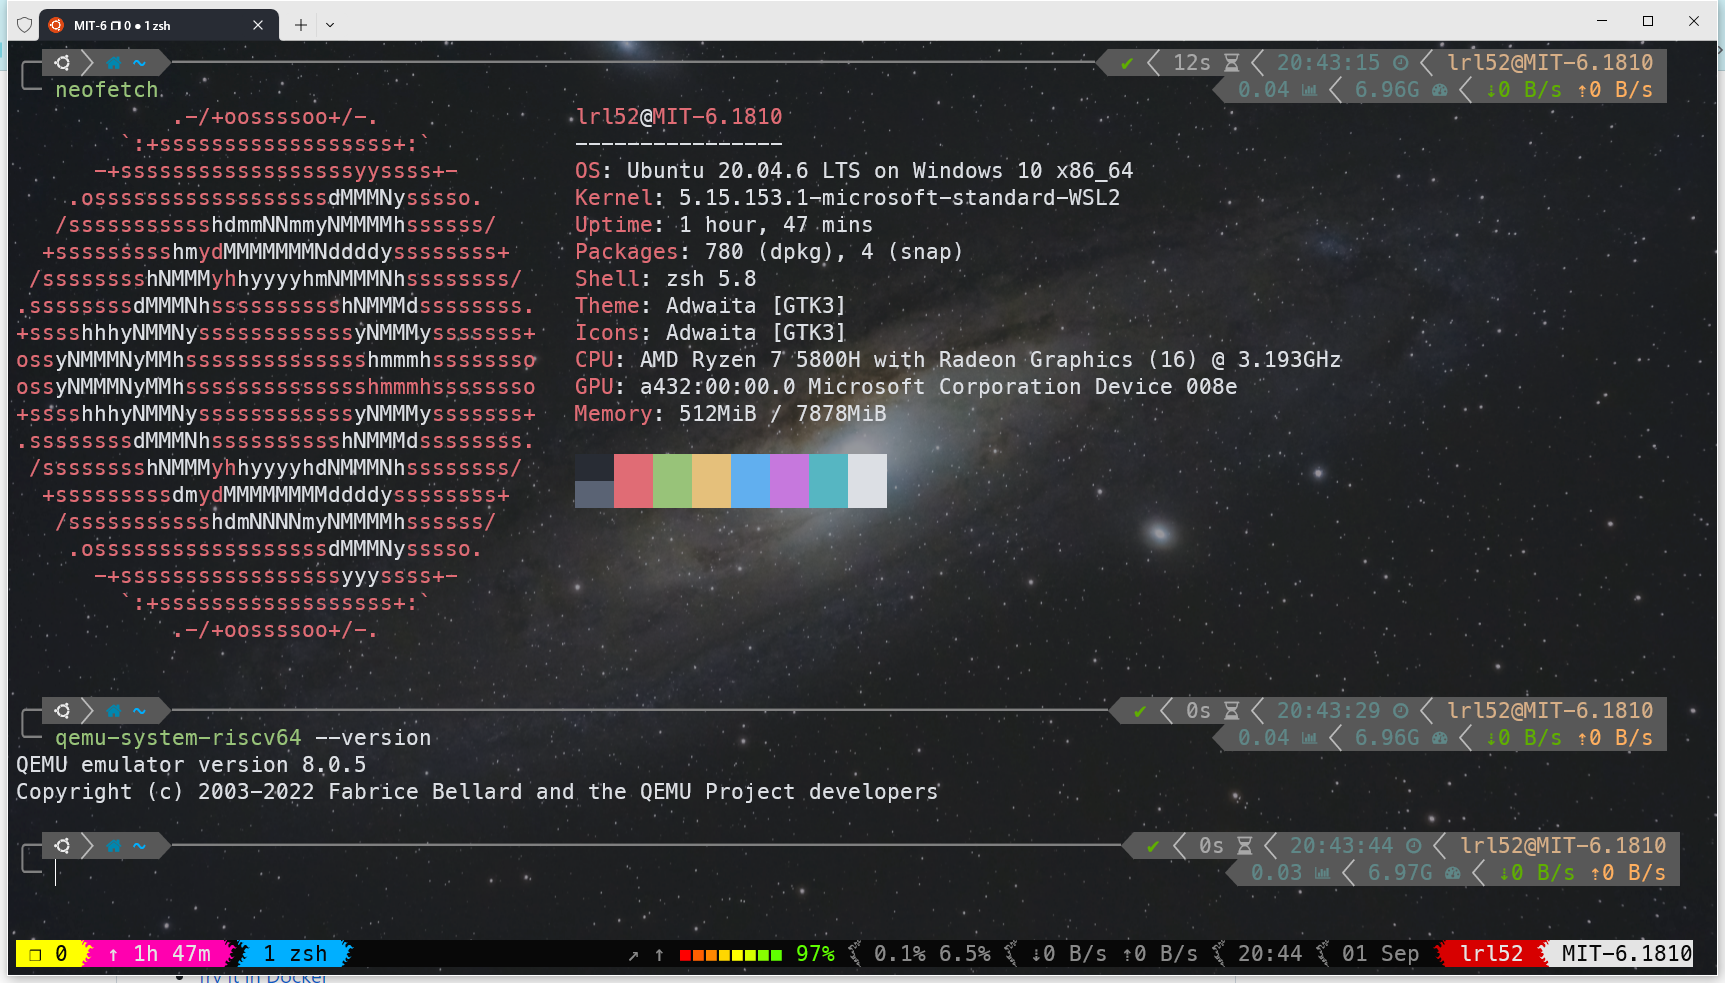
qemu-system-riscv64 --version
QEMU emulator version 8.0.5
Copyright (c) 2003-2022 Fabrice Bellard and the QEMU Project developers
Xv6 Debug
这部分需要花一定时间来探索了,可以 Google:xv6 vscode 或者 xv6 debug。笔者仅简单列出参考过的视频和资料。
Xv6 代码导读 (调试工具配置;调试系统调用执行) [南京大学2022操作系统-P18]
关于 riscv64-unknown-elf-gdb 和 gdb-dashboard 的配置可以参考下面的文档。笔者用的 riscv64-unknown-elf-gdb 版本为 12.1,更新版本的在 20.04 似乎装不上。
rCore-Tutorial-使用 GDB 对 rCore 进行 debug*
关于 GDB:
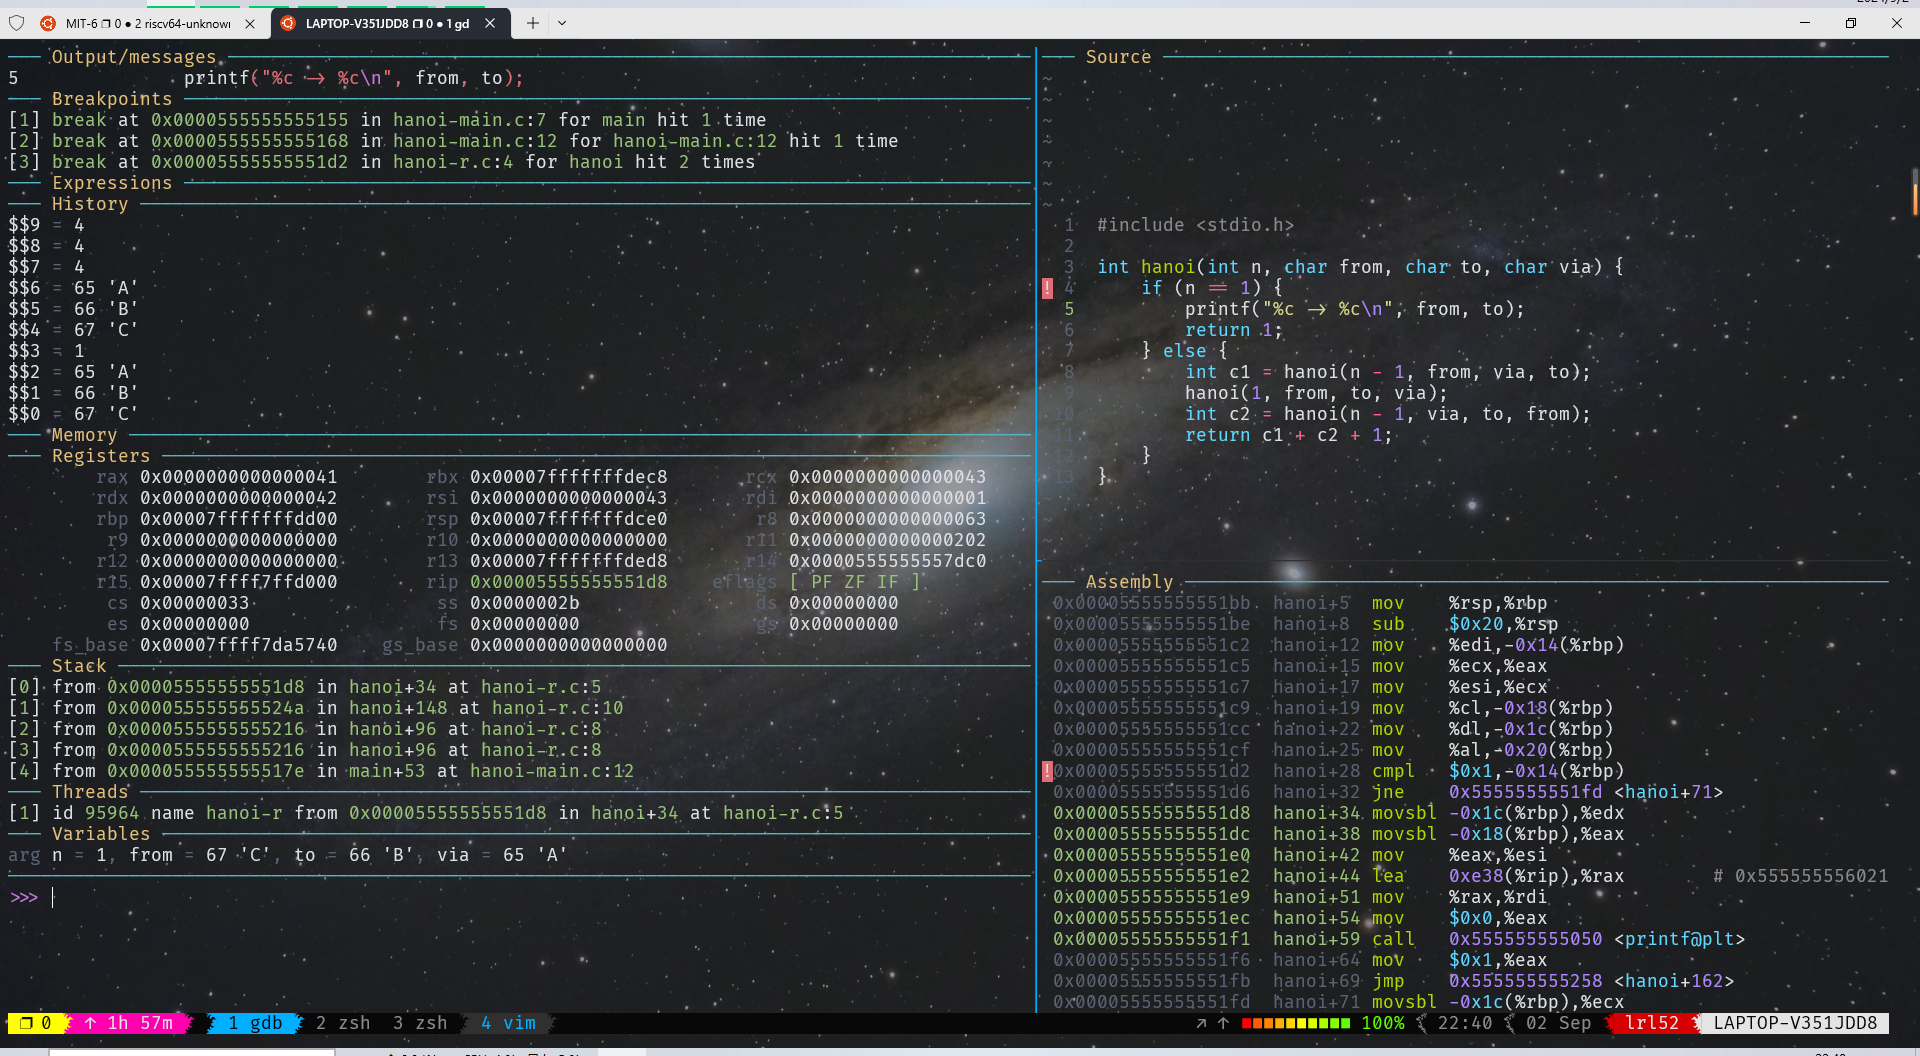
关于如何调试 xv6 上的 user program:
- 可以通过
add-symbol-file或者file来添加 symbol,例如add-symbol-file user/_sleep。 - 打断点可以精确到源文件,例如
b sleep.c:7。 - 调试时可以仅启用 1 个 CPU,即
make CPUS=1 qemu-gdb。
笔者实际上已经都配置好了 gdb 和 vscode debug 都配好了,懒得再写了,后续有新的进展可能会补坑吧。
MIT-6.1810 启动
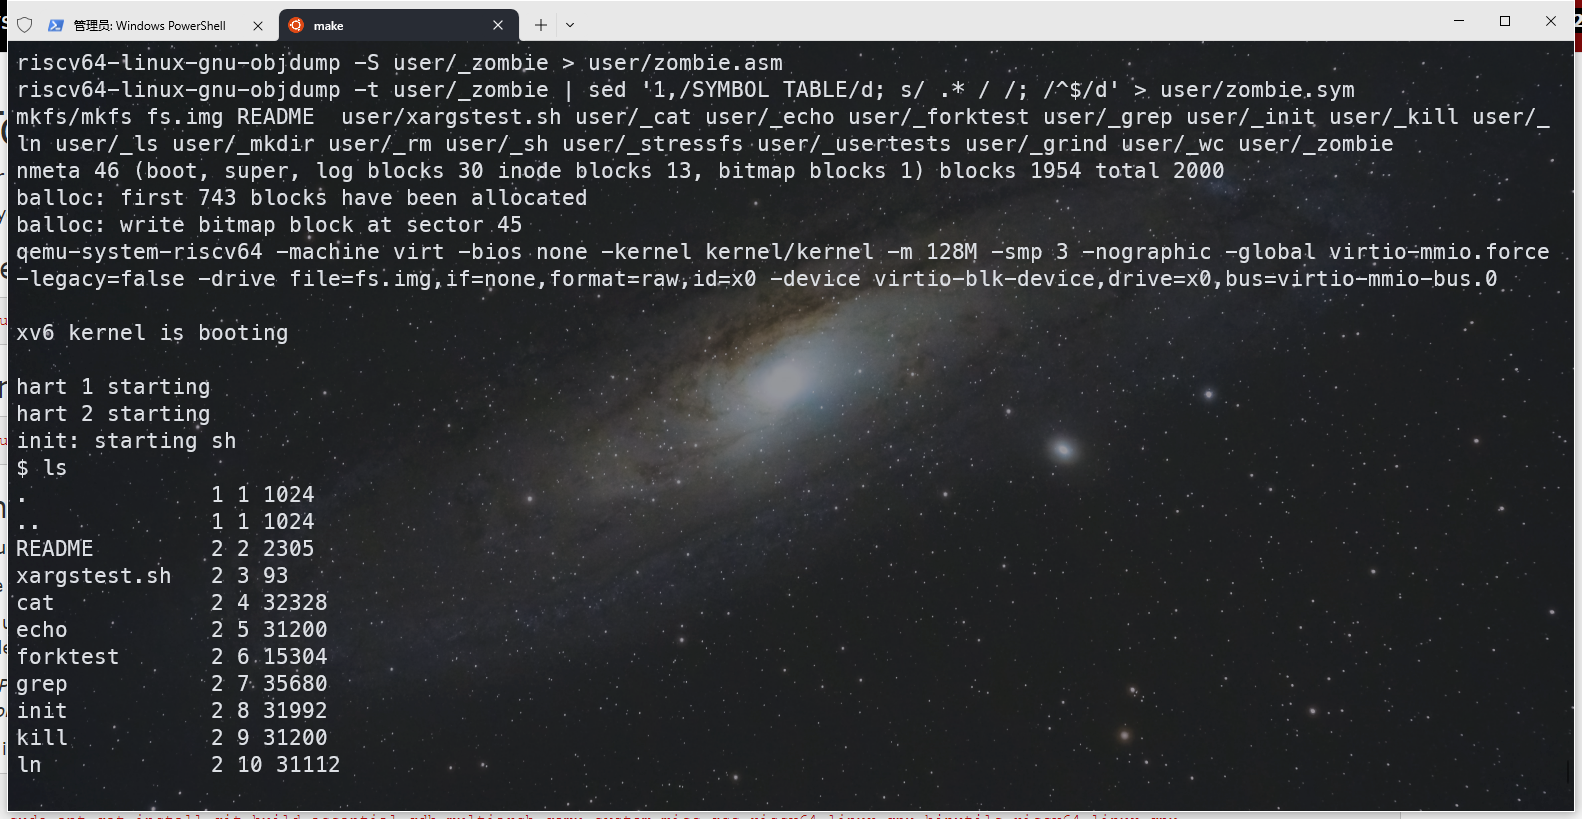
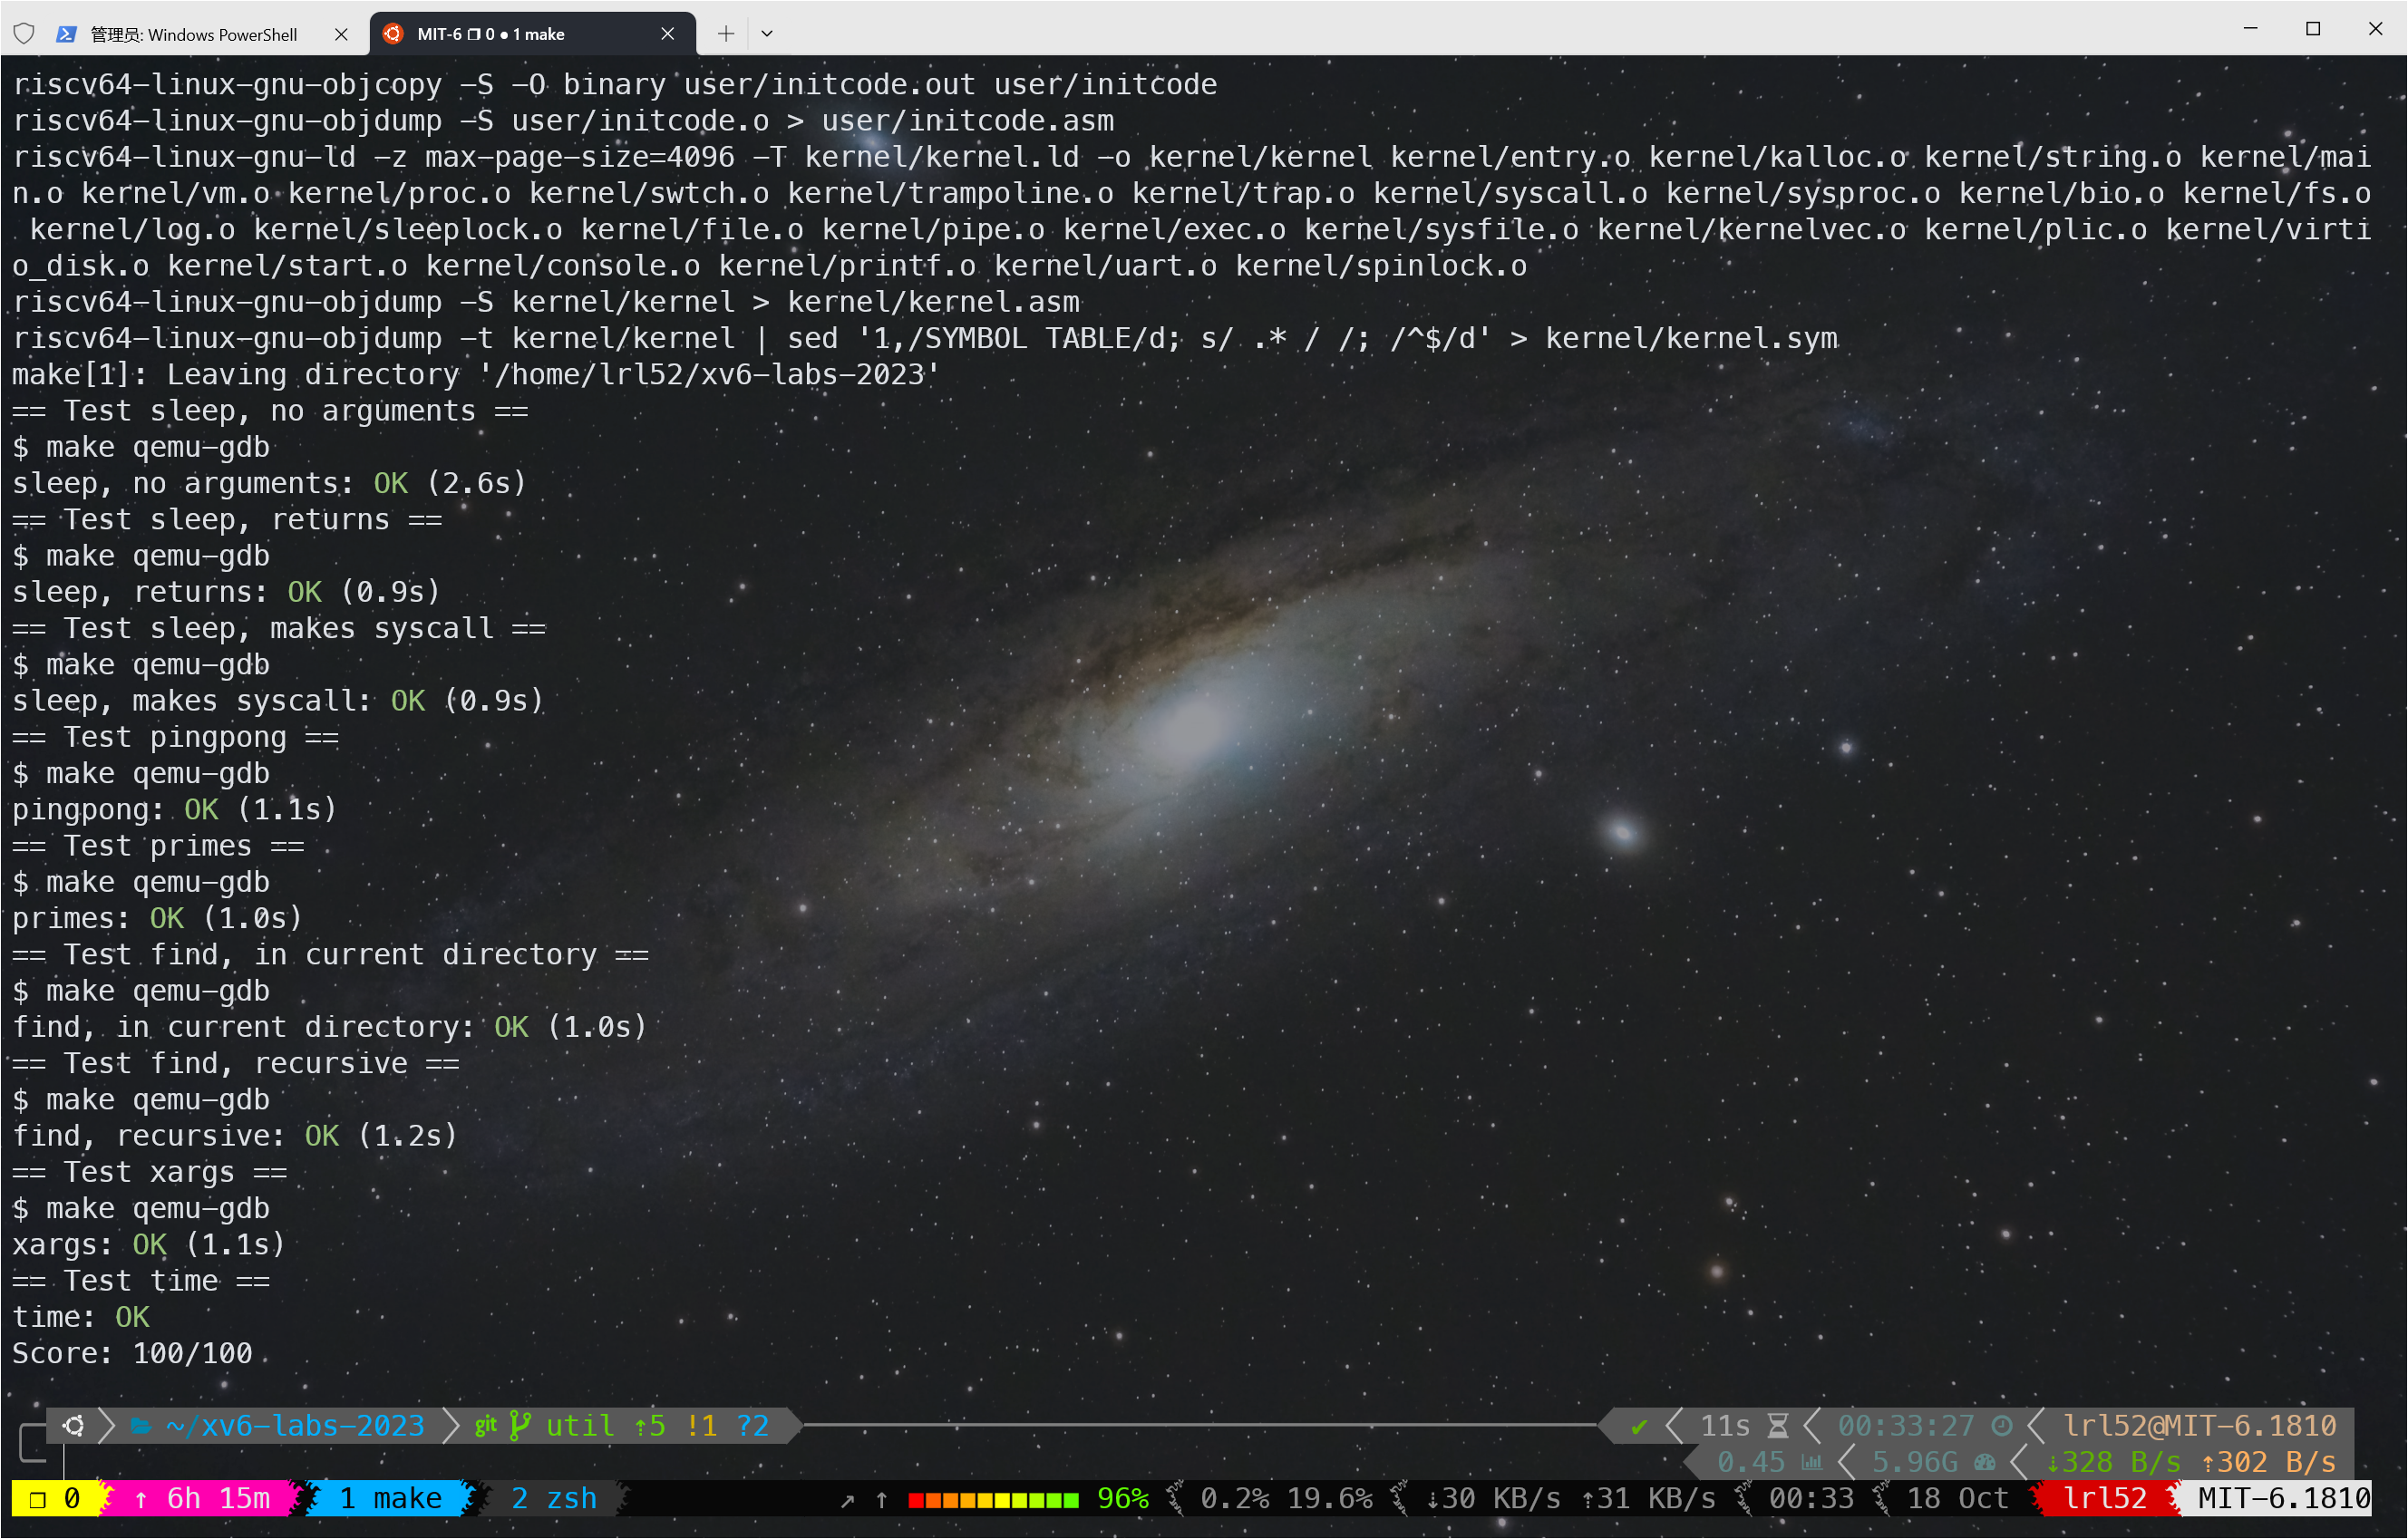
MIT-6.1810,启动!
下图只是为了展示 gdb-dashboard 在 tmux 中可以分窗格和设置 history 数量(但就是有点麻烦),
gdb-dashboard debug xv6,
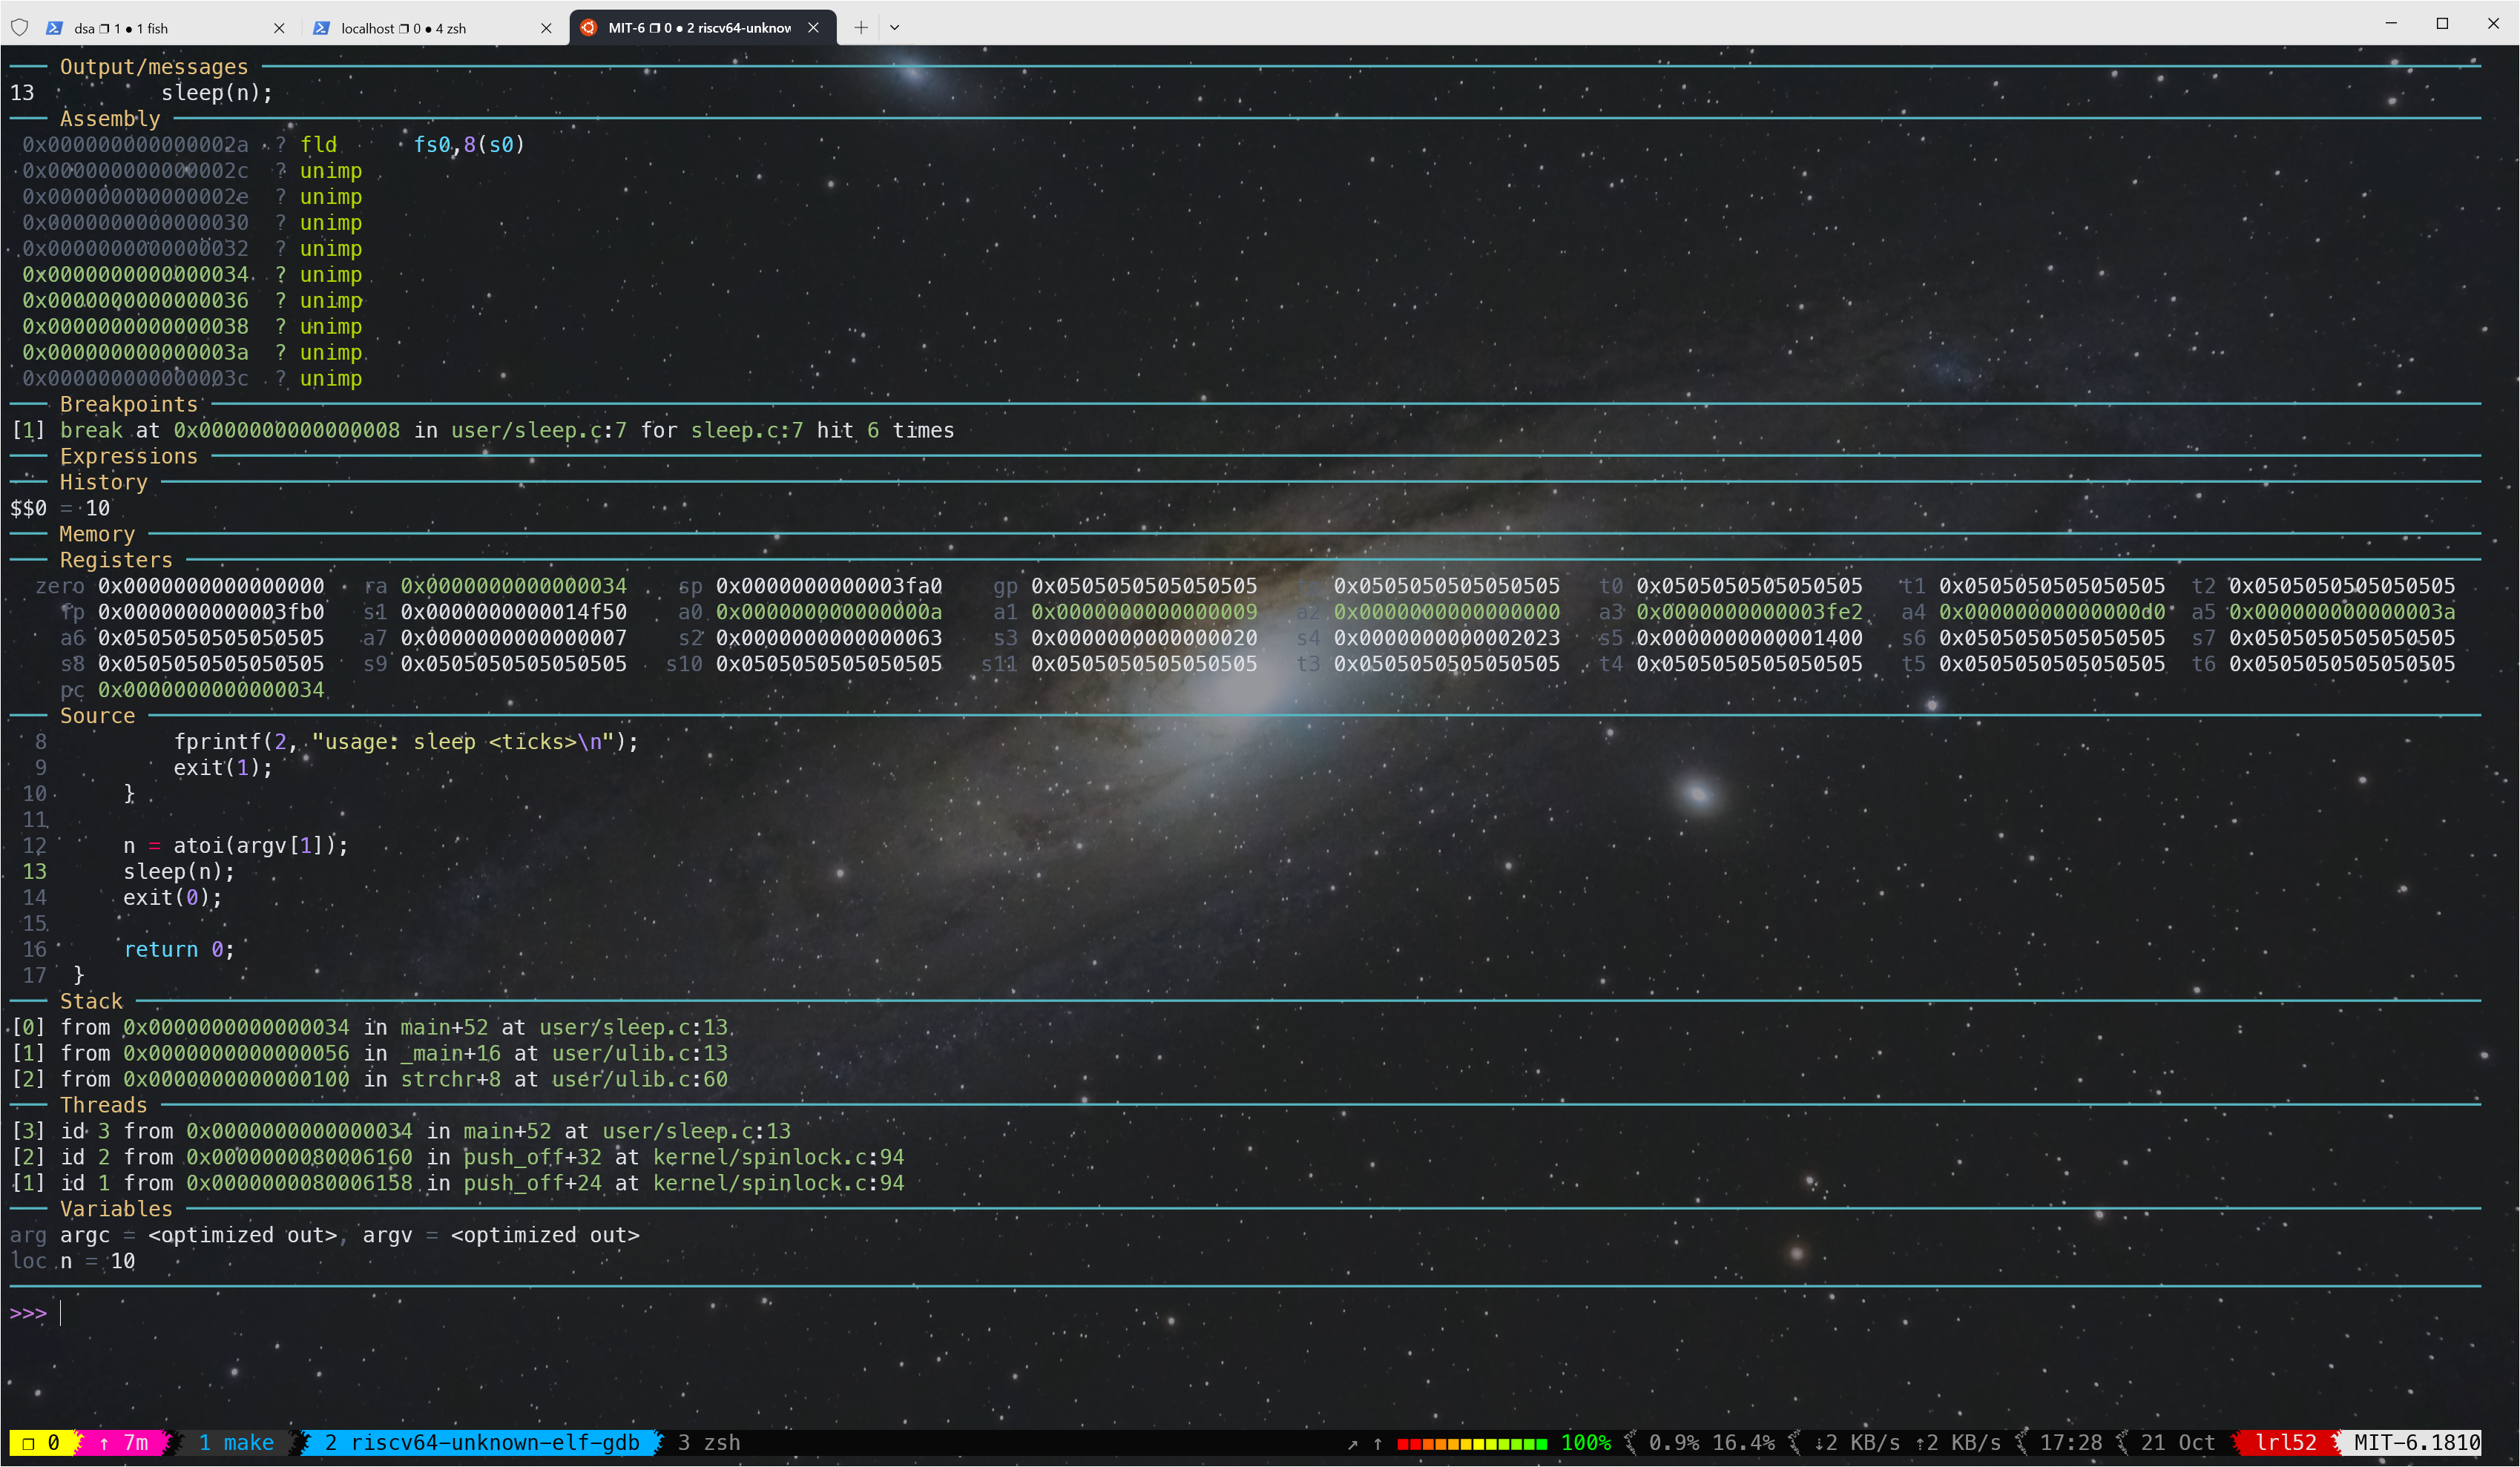
一遍顺利启动 xv6
Lab 1
开始之前可以先阅读一下 Lab guidance,
首先 clone 仓库,
git clone git://g.csail.mit.edu/xv6-labs-2023
cd xv6-labs-2023
更改 push 源为自己的仓库:
git remote set-url --push origin git@github.com:LRL52/xv6-labs-2023.git
Sleep
easy,nothing to explain.
#include "kernel/types.h"
#include "user/user.h"

int main(int argc, char *argv[]) {
    int n;

    if (argc != 2) {
        fprintf(2, "usage: sleep <ticks>\n");
        exit(1);
    }

    n = atoi(argv[1]);
    sleep(n);
    exit(0);

    return 0;
}
pingpong
easy,nothing to explain.
#include "kernel/types.h"
#include "user/user.h"

#define PIPE_READ 0
#define PIPE_WRITE 1

int main() {
    int pipe1[2], pipe2[2];
    char c;

    pipe(pipe1); // create pipe1 for parent to child
    pipe(pipe2); // create pipe2 for child to parent

    if (fork() == 0) {
        // child
        close(pipe1[PIPE_WRITE]);
        close(pipe2[PIPE_READ]);

        read(pipe1[PIPE_READ], &c, 1);
        printf("%d: received ping\n", getpid());
        write(pipe2[PIPE_WRITE], "c", 1);

        close(pipe1[PIPE_READ]);
        close(pipe2[PIPE_WRITE]);
    } else {
        // parent
        close(pipe1[PIPE_READ]);
        close(pipe2[PIPE_WRITE]);

        write(pipe1[PIPE_WRITE], "c", 1);
        read(pipe2[PIPE_READ], &c, 1);
        printf("%d: received pong\n", getpid());

        close(pipe1[PIPE_WRITE]);
        close(pipe2[PIPE_READ]);
    }

    return 0;
}
primes
传说中的多进程筛素数,很早就看过这个图了,原来是出自这里。
这个就很有意思了,通过 pipe 来筛素数,同时可以让你很好的理解作为一个 programmer 如何使用 fork 和 pipe 来实现多进程的管道通信。
笔者完成之前没有参考现有的代码,并且笔者的代码没有使用递归来实现。需要注意只有最左边的进程是直接从 range [2, 35] 取数,后面的进程都是从左边进程的 pipe 里读数,这点在实现的时候笔者通过 id 变量来区分当前进程是否为第 1 个进程。同时注意 xv6 下每个进程能打开的 file descriptor 有限,每个进程最多打开 16 个 fd(在 kernel/param.h 中有定义 \#define NOFILE 16)。
#include "kernel/types.h"
#include "user/user.h"

#define PIPE_READ 0
#define PIPE_WRITE 1

int main() {
    int pipe_left[2], pipe_right[2];
    int id = 0, initialized = 0;
    int p, x = 2, rc;

BEGIN:
    if (id == 0) {
        p = 2;
    } else {
        read(pipe_left[PIPE_READ], &p, 4);
    }

    printf("prime %d\n", p);

    while (1) {
        if (id == 0) {
            x += 1;
            if (x > 35) {
                break;
            }
        } else {
            rc = read(pipe_left[PIPE_READ], &x, 4);
            if (rc == 0) { // the write-side of the pipe has been closed
                break;
            }
        }
        if (x % p != 0) {
            if (initialized) {
                write(pipe_right[PIPE_WRITE], &x, 4);
            } else {
                pipe(pipe_right);
                if (fork() == 0) {
                    if (id > 0) {
                        close(pipe_left[PIPE_READ]);
                    }
                    memcpy(pipe_left, pipe_right, sizeof(pipe_left));
                    close(pipe_left[PIPE_WRITE]);
                    ++id;
                    goto BEGIN;
                } else {
                    close(pipe_right[PIPE_READ]);
                }
                initialized = 1;
                write(pipe_right[PIPE_WRITE], &x, 4);
            }
        }
    }

    if (id > 0) {
        close(pipe_left[PIPE_READ]);
    }
    if (initialized) {
        close(pipe_right[PIPE_WRITE]);
        wait(&rc);
    }

    return 0;
}
find
这一个需要参考 user/ls.c 中实现的文件遍历,主体逻辑基本上直接抄过来,再改改就行。
#include "kernel/types.h"
#include "kernel/stat.h"
#include "kernel/fs.h"
#include "kernel/fcntl.h"
#include "user/user.h"

#define BUF_SIZE 512

char *get_filename(char *path) {
    char *p;

    for (p = path + strlen(path); p >= path && *p != '/'; --p);
    ++p;

    return p;
}

void find(char *path, char *filename) {
    int fd;
    struct dirent de;
    struct stat st;
    char *p;

    if ((fd = open(path, O_RDONLY)) < 0) {
        fprintf(2, "find: cannot open %s\n", path);
        return;
    }

    if (fstat(fd, &st) < 0) {
        fprintf(2, "find: cannot stat %s\n", path);
        close(fd);
        return;
    }

    switch (st.type) {
        case T_FILE:
            if (strcmp(get_filename(path), filename) == 0) {
                printf("%s\n", path);
            }
            break;

        case T_DIR:
            if (strlen(path) + 1 + DIRSIZ + 1 > BUF_SIZE) { // "1" for "/" and "1" for null terminator
                printf("find: path too long\n");
                break;
            }
            p = path + strlen(path);
            *p++ = '/'; // p points to position after '/' and will not change in the following loop
            while (read(fd, &de, sizeof(de)) == sizeof(de)) {
                if (de.inum == 0) {
                    continue;
                }
                if (strcmp(de.name, ".") == 0 || strcmp(de.name, "..") == 0) {
                    continue;
                }
                memmove(p, de.name, DIRSIZ);
                p[DIRSIZ] = 0;
                if (stat(path, &st) < 0) {
                    fprintf(2, "find: cannot stat %s\n", path);
                    continue;
                }
                find(path, filename);
            }
            break;
    }

    close(fd);
}

int main(int argc, char *argv[]) {
    static char buf[BUF_SIZE];

    if (argc != 3) {
        fprintf(2, "usage: find <path> <filename>\n");
        exit(1);
    }

    strcpy(buf, argv[1]);
    find(buf, argv[2]);

    return 0;
}
xargs
xargs 也是一个很常用的命令。
注意在命令行参数中,argv[0] 是运行程序本身,并且在数量上也计入 argc,argv[argc] 必须为 NULL。
#include "kernel/types.h"
#include "kernel/param.h"
#include "user/user.h"

#define STDIN 0
#define BUF_SIZE 512

int main(int argc, char *argv[]) {
    char *new_argv[MAXARG];
    char buf[BUF_SIZE];
    int i, n, rc, new_argc;

    if (argc < 2) {
        fprintf(2, "usage: xargs command\n");
        exit(1);
    }

    new_argc = argc - 1;
    for (i = 0; i < new_argc; ++i) {
        new_argv[i] = argv[i + 1];
    }

    while (1) {
        n = 0;
        while ((rc = read(STDIN, buf + n, 1)) > 0) { // read one character at a time until newline('\n')
            if (buf[n] == '\n') {
                break;
            }
            ++n;
        }
        if (rc == 0) {
            break;
        }
        buf[n] = 0;
        new_argv[new_argc] = buf;
        new_argv[new_argc + 1] = 0; // argv[] must be terminated by NULL
        if (fork() == 0) {
            exec(argv[1], new_argv);
            exit(1);
        }
        wait(0);
    }


    return 0;
}
测试
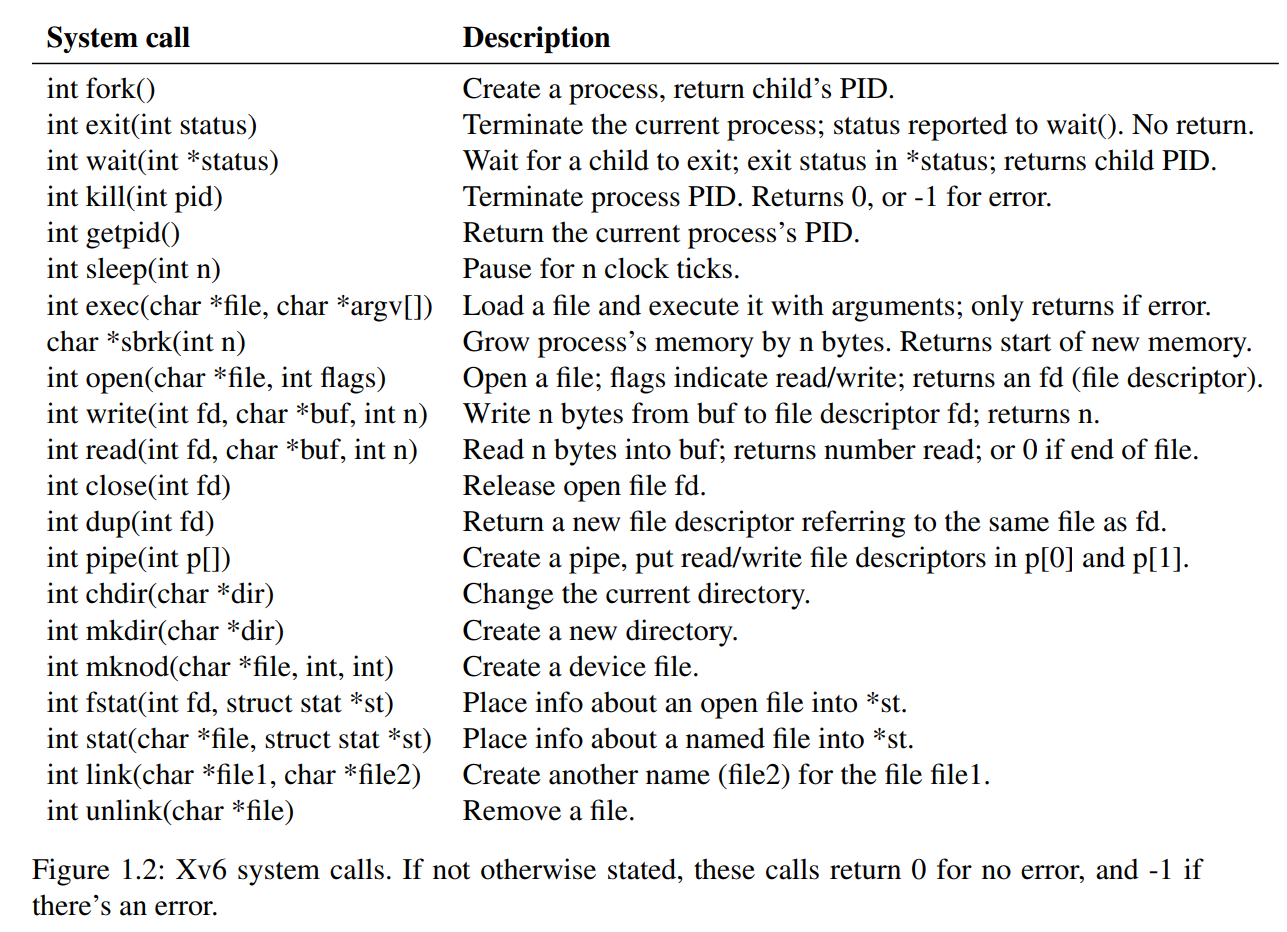
Xv6 Book Chapter 1
Xv6 金句摘录,以下仅记录 Xv6 book 中笔者觉得 make sense 或者有用或者自己不太熟悉的部分:
Unix provides a narrow interface whose mechanisms combine well, offering a surprising degree of generality.
The kernel uses the hardware protection mechanisms provided by a CPU to ensure that each process executing in user space can access only its own memory.
The fact that the shell is a user program, and not part of the kernel.
A subsequent read will return the bytes following the ones returned by the first read. Each write picks up where the previous one left off.(read,write 会在上一次 offset 的基础上继续读写)
A newly allocated file descriptor is always the lowest-numbered unused descriptor of the current process.(新分配的文件描述符始终是当前进程中编号最小的未使用描述符)
Why it is helpful that fork and exec are separate calls?
A:Between the two, the shell has a chance to redirect the child’s I/O without disturbing the I/O setup of the main shell.
Each underlying file offset is shared between parent and child.(每个底层文件偏移量在父进程和子进程之间共享)
The dup system call duplicates an existing file descriptor, returning a new one that refers to the same underlying I/O object. Both file descriptors share an offset, just as the file descriptors duplicated by fork do.
Open with the O_CREATE flag creates a new data file, and mknod creates a new device file.
mknod creates a special file that refers to a device. Associated with a device file are the major and minor device numbers.
A file’s name is distinct from the file itself; the same underlying file, called an inode, can have multiple names, called links. Each link consists of an entry in a directory; the entry contains a file name and a reference to an inode. An inode holds metadata about a file, including its type (file or directory or device), its length, the location of the file’s content on disk, and the number of links to a file.
Each inode is identified by a unique inode number.
fd = open("/tmp/xyz", O_CREATE|O_RDWR);
unlink("/tmp/xyz");
上述是创建没有名称的临时索引节点的惯用方法,该索引节点将在进程关闭时被清理 fd 或退出。
Xv6 is not POSIX compliant: it is missing many system calls (including basic ones such as lseek), and many of the system calls it does provide differ from the standard.
Xv6 does not provide a notion of users or of protecting one user from another; in Unix terms, all xv6 processes run as root.
Reference
PS:这门课的资源简直不要太丰富,课程有精校中文字幕的可以听,不想听还可以直接看文字版笔记。教材还有中文翻译的,实验文档也有中文的(见 xv6.dgs.zone,但中文版的内容不齐全建议阅读英文的)。以及开始之前还有 jyy 大佬带你领学 xv6 代码。
MIT 6.1810: Operating System Engineering 2023
xv6: a simple, Unix-like teaching operating system

请问用vscode是怎么使用qemu monitor的,比如想info mem该怎么办
这个肯定只能在 terminal 里操作啦。其实 gdb 命令行调试的自由度更高,虽然开始我配了 vscode 调试环境,但实际上我是 vscode 写代码开发,gdb 终端调试
求教,用terminal咋操作,教授说ctrl+A+C可以调出qemu monitor,但我按了没反应呀
先按 Ctrl+A,按了后松开,再按 C。如果还没反应,检查下是否有键位冲突了,比如和 tmux 键位冲突
是用windows的cmd进入wsl,然后操作吗,我是这么操作的但是没用
是的,我也用的 WSL 完成的 labs